Wednesday, June 12, 2013

Dynamic Duos #56

I made this card using the colour challenge from the Dynamic Duos blog.  It’s a beautiful, classy combo.  I decided to create a thank you card using it, and it turned out so gorgeous and elegant.  I am in love with the final result.


Here’s the challenge…


Here’s my card.  I used a few things that I hadn’t even had a chance to try out yet, so this card was a lot of fun to do.  With school almost out, I will hopefully have more time to sit down in my ‘office’ and ‘work’, and give all my goodies a good workout!  I CASEd this card from the new catalogue.  The general layout was the same, I just turned it on it’s side, changed the embossing folder, stamped sentiment, colours, and embellishments… and had my card!  Put like that, the end result really looks absolutely nothing like what I was originally inspired by, but nonetheless, that is how it came to be!

So... here's my card...


I absolutely love it.  When I told my husband to 'look at the card I made'... he looked... and then looked again!  That's something!  He's so used to 'looking', but this time he really 'looked'!

Thanks for taking the time to stop in and take a 'look' of your own!

Happy Day To You


Another fun, easy card to make using the very first stamp set I ever bought from Stampin' Up!... Fun & Fast Notes.  My goal is to go through my (many!) stamp sets and use all the stamps there are to use!  With so many stamp sets, it's easy to forget about some and use my favourites.  That's my goal anyway, we'll see what happens with it!

Tuesday, June 11, 2013

Friday Mashup... On Tuesday!

I really wanted to play along with the Friday Mashup this week.  I've been meaning to do something with hexagons, but my crafting time is pretty short these days, so I quickly sat down this morning and created this fun card, while my youngest was napping.  I CASEd the layout from Ilina Crouse, a fellow demo.  I wanted to include those hexagons, and make it girly, so I changed it up a little to suit my needs, and it worked out perfectly.

Here's the challenge from Erica over on the Friday Mashup....

  1. Create a project using "Hexagons".
  2. Create a "Girly project".
  3. Or Mash it Up and create a "Girly project using Hexagons".


Here's the card I made...


I used Rose Red, Wild Wasabi, and Bashful Blue for this card.  I got my colour combo off of my Colour Coach (the retired one)  I embossed the background DSP after adhering them together.  They definitely get a little 'distressed' looking after you run them through the embossing folder.  I like it though!  I used my SAMJ to get the clouds and strings and streamers 'just right'.  The button with the twine bow is the finishing touch.  My niece will be getting this card in the mail.  She's turning 15 in a couple weeks!  I can't believe it.

Thanks for looking!  Don't forget to click on over to the Friday Mashup blog, check out what everyone has made, and maybe even play along yourself!

Bunch of Baby Cards

This card was a CASE from my upline Carrie Gaskin.  I loved it so much when I was done, I made it in a few more colours for my sister who had ordered a bunch of baby cards.  A little labour intensive and definitely not CAS, but a beautiful card worth the work, when all is said and done.


These cards are again made with all SU! products except for the odd button or ribbon!  And depending on the post office... those buttons or pearls may make them non-mailable!

Monday, June 10, 2013

SCIC #67

I've been busy doing some more scrapbooking!  I can't believe I am almost 'caught up'!  It worries me a little... not to be caught up, but that I might run out of things to scrapbook!  I'll just have to make sure we start taking MORE PICTURES!

Anyhoo... enough gabbing.... on to what you are here for!  There was an awesome inspiration picture over on the Stampin' Celebration Inspiration Challenge blog, and of course I played along.  I simply cannot resist.  Click on over to see the challenge for the month of June and what the awesomely talented design team has made to get you going.  Maybe you'll be inspired to play along yourself!  It's so fun!

Here's the inspiration photo...


I was definitely loving the argyle pattern, and recolored a Frosty Day DSP to a gray color for my background.  Of course after all was said and done, I remembered that I had a background stamp in an argyle pattern as well, and would have certainly used that, but too late... I didn't want to start over!  There's always another layout!

I did go with the colour scheme of grays and yellows and based my general layout on the 'sunshine when skies are gray' theme using some adorable pictures of my two year old with one of her sunny smiles!  She's such a happy little girl.  Just listening to her laugh can seriously make you laugh yourself... but she's not perfect... she's two after all, and we all know what that can mean!

So here's my layout...


Thanks for looking!  Hope you enjoyed it, and don't forget to click on over to the SCIC blog and maybe even get inspired yourself.

Have a fabulous week!


Happiest Birthday


 Love this card.  It is so pretty and feminine.  A little more work, but the reward is good. 


Saturday, June 8, 2013

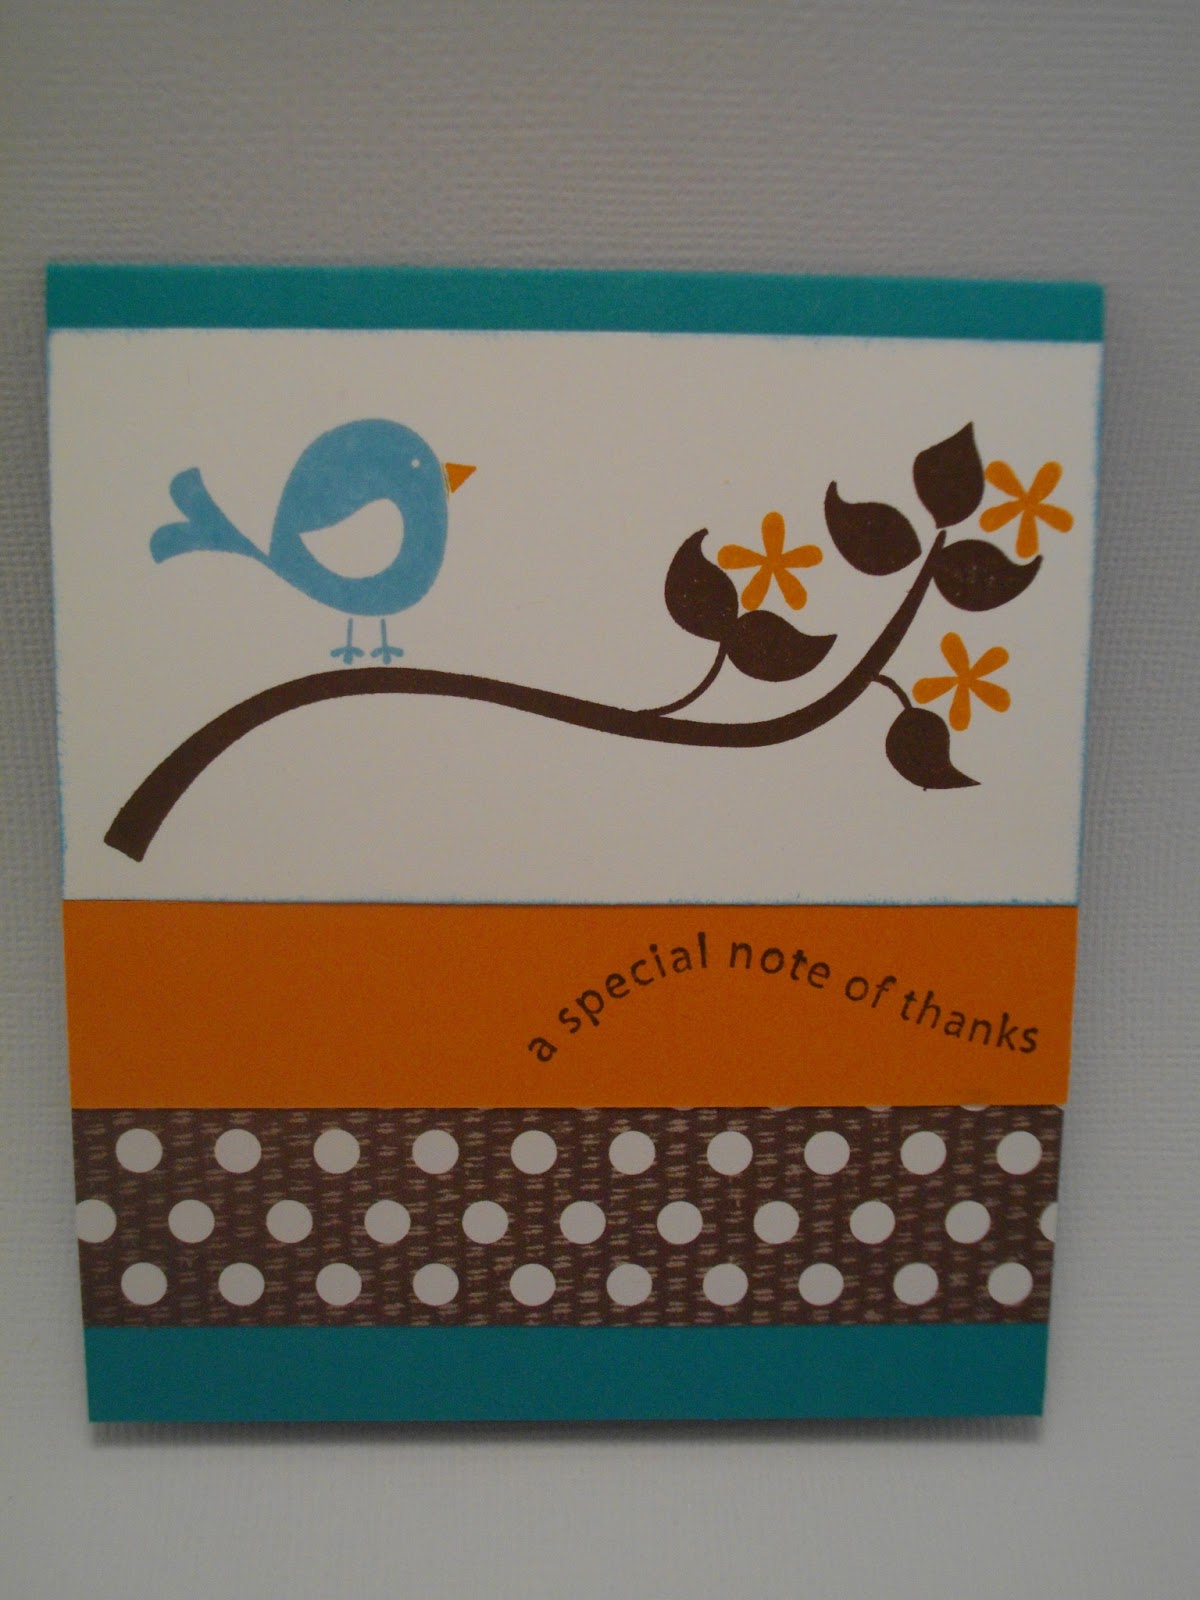
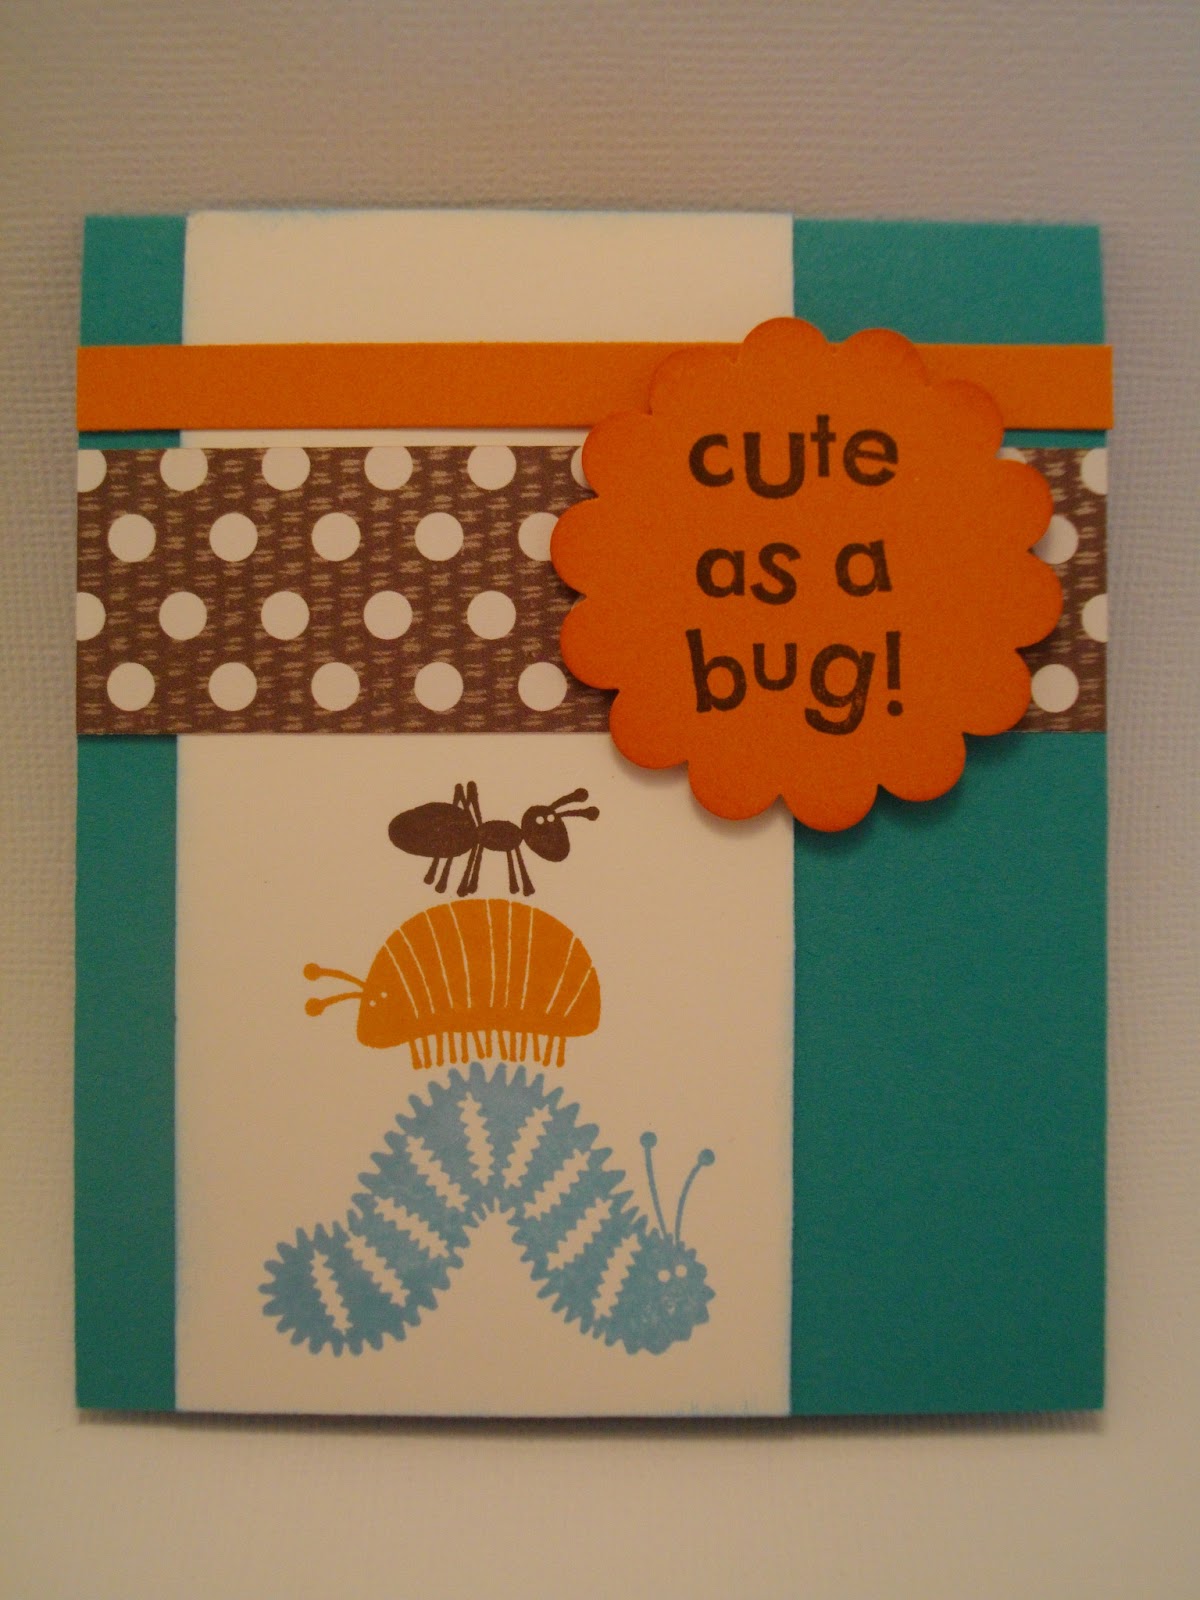
3 Card Set

These have got to be the cutest little cards in the West.  The finished size is... I cannot remember!  Maybe 3x4 or so?  Making a little set of cards like this is a great way to use up little pieces and strips of leftover paper.

For the first one I used the Cheep Talk stamp set and my SAMJ to get the perfect placement of flowers on those branches.


This one below uses the Bugs and Kisses stamp set.  Used the SAMJ on this one too.


And for the third one I used the Cheep Talk set again.  And the SAMJ!


For all three cards I used a base of Bermuda Bay which was one of the In Colours then, and is now back in the SU! Brights collection!  Love it!

Friday, June 7, 2013

One Sheet Mini Book

Today I have a little mini book I've made.  The finished size is a little bigger than 3x3.  The directions to make this can be found on Dawn Griffith's blog here.  She has a short video explaining how it's done.  It's pretty easy.... and so pretty!

I changed up the colours and a few other little details.  This is mostly SU! product, but the ribbon is non-SU! and the punch is from EK Success, a 3" scallop circle punch.


It's such a neat little book for just about anything and now that I am seeing it again I think I will make a few more!

Thursday, June 6, 2013

MDSM17

Finally got around to finishing this layout and posting it here.  Like, I said, the month of June is getting in the way... of my fun work, that is!  In any event... here we are.  I played along again with all the great talent over at MDS Monday for the MDSM17 challenge.

Here's the challenge sketch... which included the challenge to attach your text to a shape!  Would you believe I didn't even know you could do that?  When I journal within a circle, I actually go back and forth, and back and forth, and back and forth checking and changing words until I have it all perfectly centered and just the way I want it!  Yeah, I know, right?


Here's my layout...


I have to admit... this layout drove me a bit nuts.  Not only am I in the dark about the text in the shape thing, but did you know that when you mirror a punch and then fill it with text, your text will be mirrored?  Um, hello?  Who thought this up?  So, after doing my expert back and forth thing, trying all sorts of tricks (to no avail, btw!) I discovered that if you sign in to your program as an administrator, you can EDIT PUNCHES... including making your own, and then saving them under Users.  So that's what I did in the end.  I opened the Oval Bubble Punch and switched the little pointy thing to the other side, saved it under my own name... and now my dad can do the talking!  Maybe I am the only one who did not know about this "mirrored image" business... but, seriously?!?!  

I really wanted to use some new in colours, but only have cardstock, no DSP or embellishments (yet!) so I did the run-around.  I filled a 12x12 layout with a DSP layer, recolored it using the colour picker, (I used Melon Mambo to get Strawberry Slush) then exported it to my pictures as a .jpeg file.  THEN... I put my flag punch on my layout and chose to fill it with a photo, using my MM turned Strawberry Slush photo!  

I absolutely love this colour combo of Daffodil Delight, Coastal Cabana, and Strawberry Slush.  It's so fresh and vibrant and tropical-looking!  I also love this picture of my dad and my youngest girlie... she is listening so carefully (and adding her two cents when it suits!) and she loves to have stories read to her, which is one of my dad's main jobs around here when he and my mom visit!  

Thanks for another great challenge, MDS Monday ladies... have a great weekend!

Thanks for looking!

Happy Birthday!

I haven't been on here for A WEEK!!!  June is a busy, busy month here, what with school winding down, sports days, year end shows, recitals and if I am not going with one of my kids on a school trip, I am driving for a different one!  So, hopefully I'll get a chance to do some "fun work" over the next few weeks and keep up with cards and scrapping. 

I CASED this card from Mary Fish, a fellow SU! demo.  It uses the new (then!) in colours and a sentiment from the Create-A-Cupcake stamp set.


I made this card back in my early days as a SU! demo, so there's still a little contraband on here!  The ribbon just matched the Calypso Coral so perfectly, I HAD to!  

It was such an easy and quick card to make, despite all the little circles... that's what punches are for!  The hardest part was figuring out where to score my card folds!  Cute card, no?